I’ve been having a bit of fun with rice. And my blender. And honey and cinnamon and vanilla. And you now basically have the “recipe” I was going to give you. Oh well, here it is anyway!
1 Cup of Rice Milk(ish) Stuff!
Recently, I’ve been wanting something sweet (but not smoothie) to drink. So, I decided to explore the world of rice milk. I’m rather glad I did. I grew up with having Horchata every once in a while, and I love that stuff. What I’ve been making is not horchata, but it’s reminiscent, and so makes me happy.
Ingredients
1/3 Cup cooked rice. (I did not add salt or anything. I just cooked up about 3 cups of rice, took 1/3 of a cup, and put the rest into the fridge to be used at a later time.)
A bit less than 2/3 cup water.
1/2 tsp vanilla
Cinnamon to taste
About 1 tsp of honey. (I did not measure this.)
Throw all of those ingredients into your blender. (I used my vitamix.) Blend until smooth. Chill, and enjoy.
Isn’t that easy? It’s also really inexpensive. A five pound bag from walmart supposedly costs a bit less than $3. (For the sake of ease, let’s call it $3.) According to various answers around the internet, there’s about 2.5 cups of uncooked rice per pound. There are therefore about 12(ish) cups of rice in a five pound bag. (Yes, I’m severely rounding. I’m making it cost more, though, and it’ll still be really inexpensive, so forgive me. 🙂 )
So in this case, each uncooked cup of rice would cost about $0.25. A cup of uncooked rice turns into about 3 cups of cooked rice. So the rice for this serving was about 1/9 of $0.25. Call it about $0.03. (Again, rounding errors factor into this.) The water was free, I bought the vanilla in bulk so a 1/2 tsp is sooo not worth calculating the cost of, and the same goes for the cinnamon and honey.
Even so, let’s add a penny. So, we’d get to about $0.04 for a very tasty drink treat. Not bad, from my perspective! Less than a nickle!
First of all, look for free food on campus. Where I am, the GSA has a weekly Friday Morning Coffee & Bagel Breakfast, and it’s fantastic. (They also have donuts, but I don’t really care about those. Bagels & cream-cheese are far more substantive.)
Free food is a great money saver. For obvious reasons.
Second, let me tell you about my lunch. This one requires a little bit more “up front” purchase (as in, I purchased an expensive blender at the beginning of September that I’d been saving up for this summer), and the ingredients might be a bit more expensive. But I think net cost was still about $1 per serving. (And I only made enough for myself.) Spending about $1 for lunch I think is a pretty reasonable price.
Also, please note that I did not actually measure anything. But do a variation on this, and you’ll probably be good.
PB&J & Fruit Smoothie
Ingredients
First of all, please note that I am not a health nut. I put spinach in primarily as filler, and as a way to make sure I would actually eat my vegetables (but without actually having to taste them.) This was basically a way for me to have dessert for lunch, and to be able to justify it. 🙂 I am basically a “healthy eater” only when it tastes better (or costs less) than the alternatives. Mac & Cheese for this particular instance would have been a bit too warm, and would have taken too long to make. So, please don’t get scared off by the word “spinach!”
And I actually like the flavor of flax. It complements the peanut butter quite well, and again helps me justify having dessert for lunch.
A handful or two of spinach. This was probably less than a quarter of the $2 bag of spinach I got a while ago. So let’s call it $.50.
Some lemon juice to cancel out the flavor of the spinach. (Negligible price.)
Probably about 1.5 TBSP of Peanut Butter. (About $0.10. Remember, I bought in bulk. And the peanut butter I got was pure peanut. Yum!)
About 1 TBSP flax meal. (Optional. I have a large bag of it, so I threw some in.)
About 5 large ice cubes. I don’t pay for water, so that was free.
Some frozen grapes. (Also optional. I used few enough that I can’t really taste them.)
Some frozen strawberries. (You might want to use more than I did.) I used about 1/5 of the $2 bag that I got, so about $0.40.
A teaspoon or so of Strawberry Preserves. I got a huge thing here. Let’s call it about $0.05 for the jam.
A bit of liquid from the fridge to thin it out a bit. Can put more ice in instead to decrease the cost.
Total Cost: $1.05. (And ingredients can be varied to make it a bit less than $1. And I once again probably overestimated how much the spinach cost.)
I then used my Vitamix blender to turn it into a drinkable substance. It was the perfect lunch for right after about 2.5 hours of bike riding and navigating around the hot campus to try to find where to purchase a bus pass and learn my way around.
First, a bit about me. I am a brand new Ph.D. student. That means that I’m leaving the luxurious life of an undergrad (where all my meals and living expenses were taken care of by a combination of the cafeteria and my parents) and entering the dark scary world of paying rent, paying other bills (INTERNET!), and… cooking for myself! (Gasp!)
And all this on a graduate student budget. So, cheap.
And there’s very little out there about eating cheaply but tastily.
Trust me. As I started doing the research last year to find out about budgets and stuffs for graduate students, I did a lot of Google searching. And I found very little of interest. All right, there was some stuff on there about how to still survive as a vegan/vegetarian/health-nut/etc. on a budget, but I’m not any of those!! I happen to really like eating tasty things (like cookies and things with butter), but there wasn’t much info on doing so cheaply which I could find.
So I’m aiming to fix that. I intend to make food that I like (insofar as I can without sacrificing internet or coffee) but (hopefully) inexpensively. At the very least, realistically. Odds are high I’ll end up just cooking up a thing of Mac & Cheese for dinner a few times when I’m running tight on my budget, since it’s cheap and I love that stuff. (Taste of my childhood! Yay!)
But I digress. I’m talking about the blog, and how hopefully this will help someone. 🙂
To start off with, I’ll share what I made tonight.
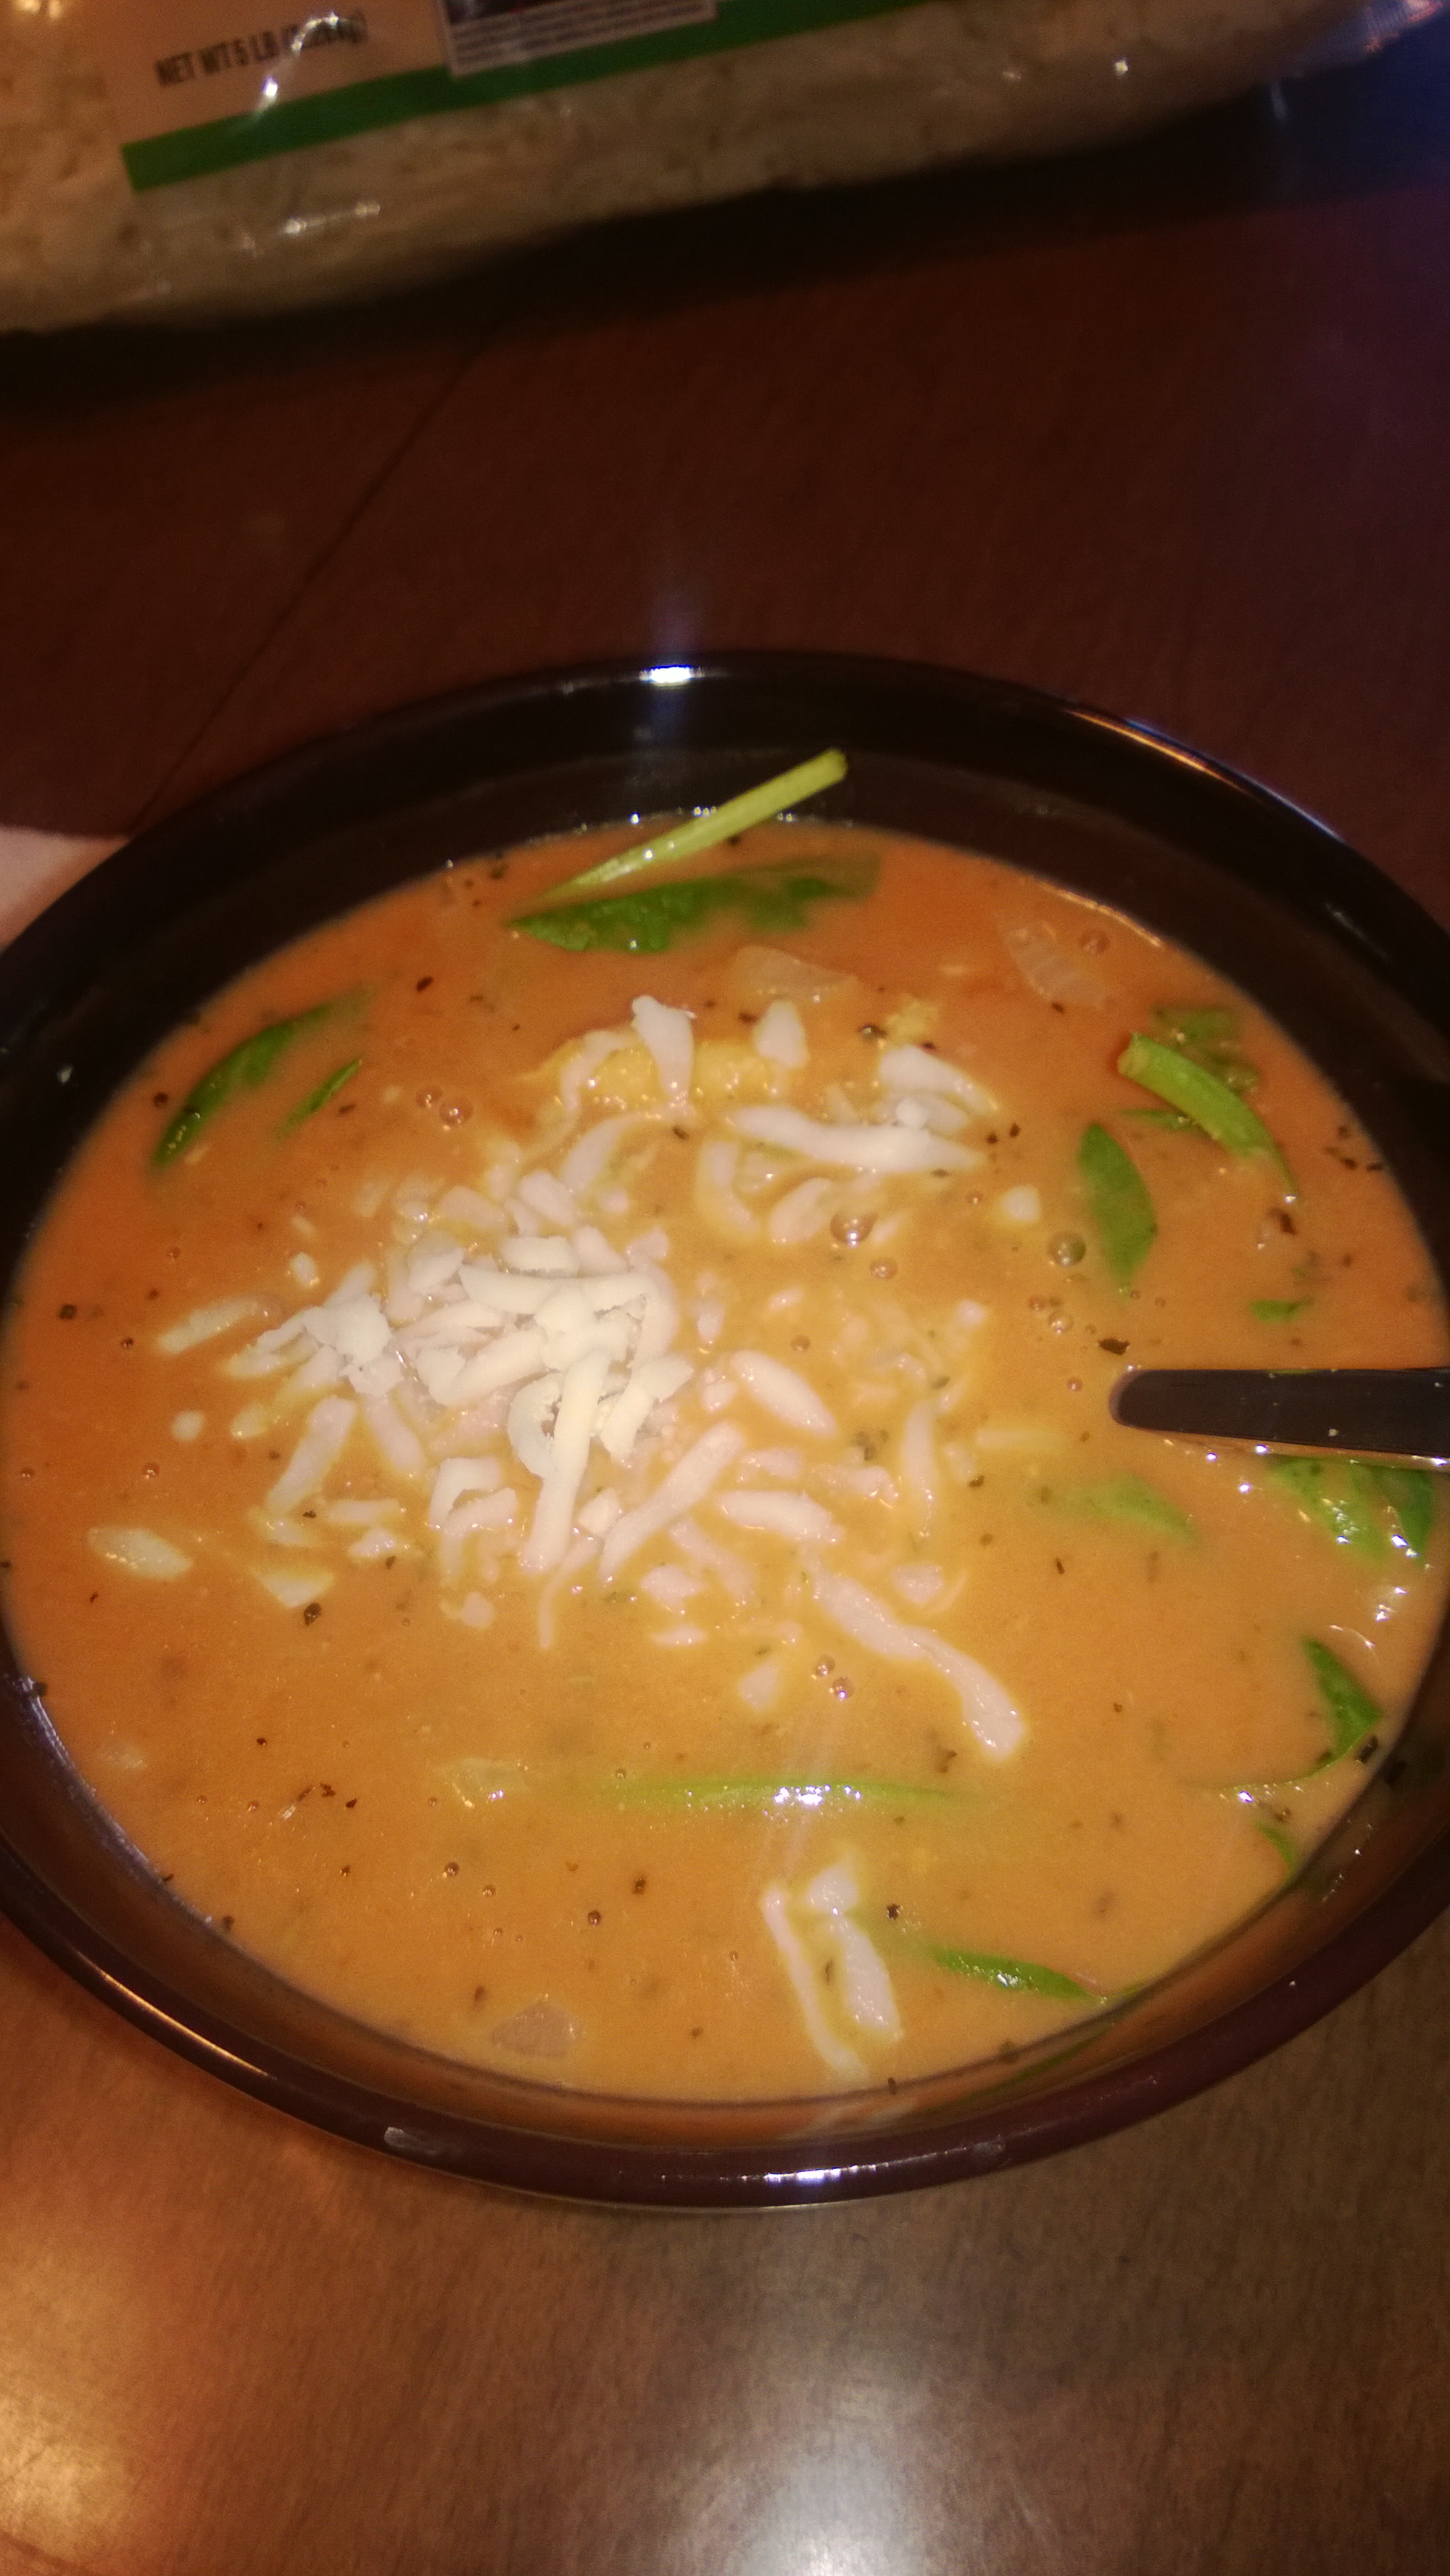
Tomato Bisque Soup and Chicken for about $2 a serving.
(Makes 2 servings.)
(Yes, I made some assumptions and did some rounding here in my estimations.)
Yup. That cost something around $2.00 for materials. Plus or minus a bit.
Yeah, I know… I need to work on my food photography skills. Sorry.
But this was really good. And surprisingly filling. And easy!
Ingredients (and approximate price.)
1 can of Campbell’s tomato soup. ($1 from the local dollar store.)
About 7/8 of 1 can’s worth of milk. (Call it about 1 cup? Maybe 1.5 cups? Regardless, if a gallon of milk costs $5, then a cup would cost about 30 cents. So, between $0.30 and $0.50. Being generous.) (Cost so far: $1.50 for two servings.)
About 1 Tbsp of Half & Half. (Or, the rest of the can.) (Cost: less than $0.10.) (And yes, I know- this is not a true bisque because of the lack of true cream. It still tastes good. 🙂 )
Parsley and basil.
1 Tbsp butter (I bought in bulk. Less than $0.10.)
1 Tbsp onion (I’m not sure on the cost of these.)
Salt.
1 Chicken Breast. This is where some of the real expense, and guessing, comes in. The chicken my roommate and I purchased was at about $2.20 a pound. I think the breast I got out of the freezer was no more than 3/4 lb. But suppose it was a $2.00 chicken breast, which would be about .9 pounds, or almost half a pound per person. This is up to you, after all. That puts the total cost at about $3.70 for two servings, or $1.85 per serving, leaving a bit for extras.
Extras: Spinach and Cheese. I got a bag of spinach for $1.99. We used a few leaves- CERTAINLY no more than 1/10 of the bag. So, $0.10 per serving. I also purchased a bulk thing of Mozzarella. (I love shredded Mozzarella! It’s one of my favorites. 🙂 ) I think I put about a tablespoon in. By my estimations, that would put it at call it $0.10. $1.75 + $0.10 + $0.10 = $2.05. But that assumes that all the “less than $0.10” expenses were, in fact, $0.10. And that 1.5 Cups of milk at $5/gallon were used. It’s also still pretty close to $2.00 a serving. (Less, if you don’t add either the spinach or the cheese. MUCH less if you use less than half a pound of chicken per person, which I am quite sure I did!)
Directions
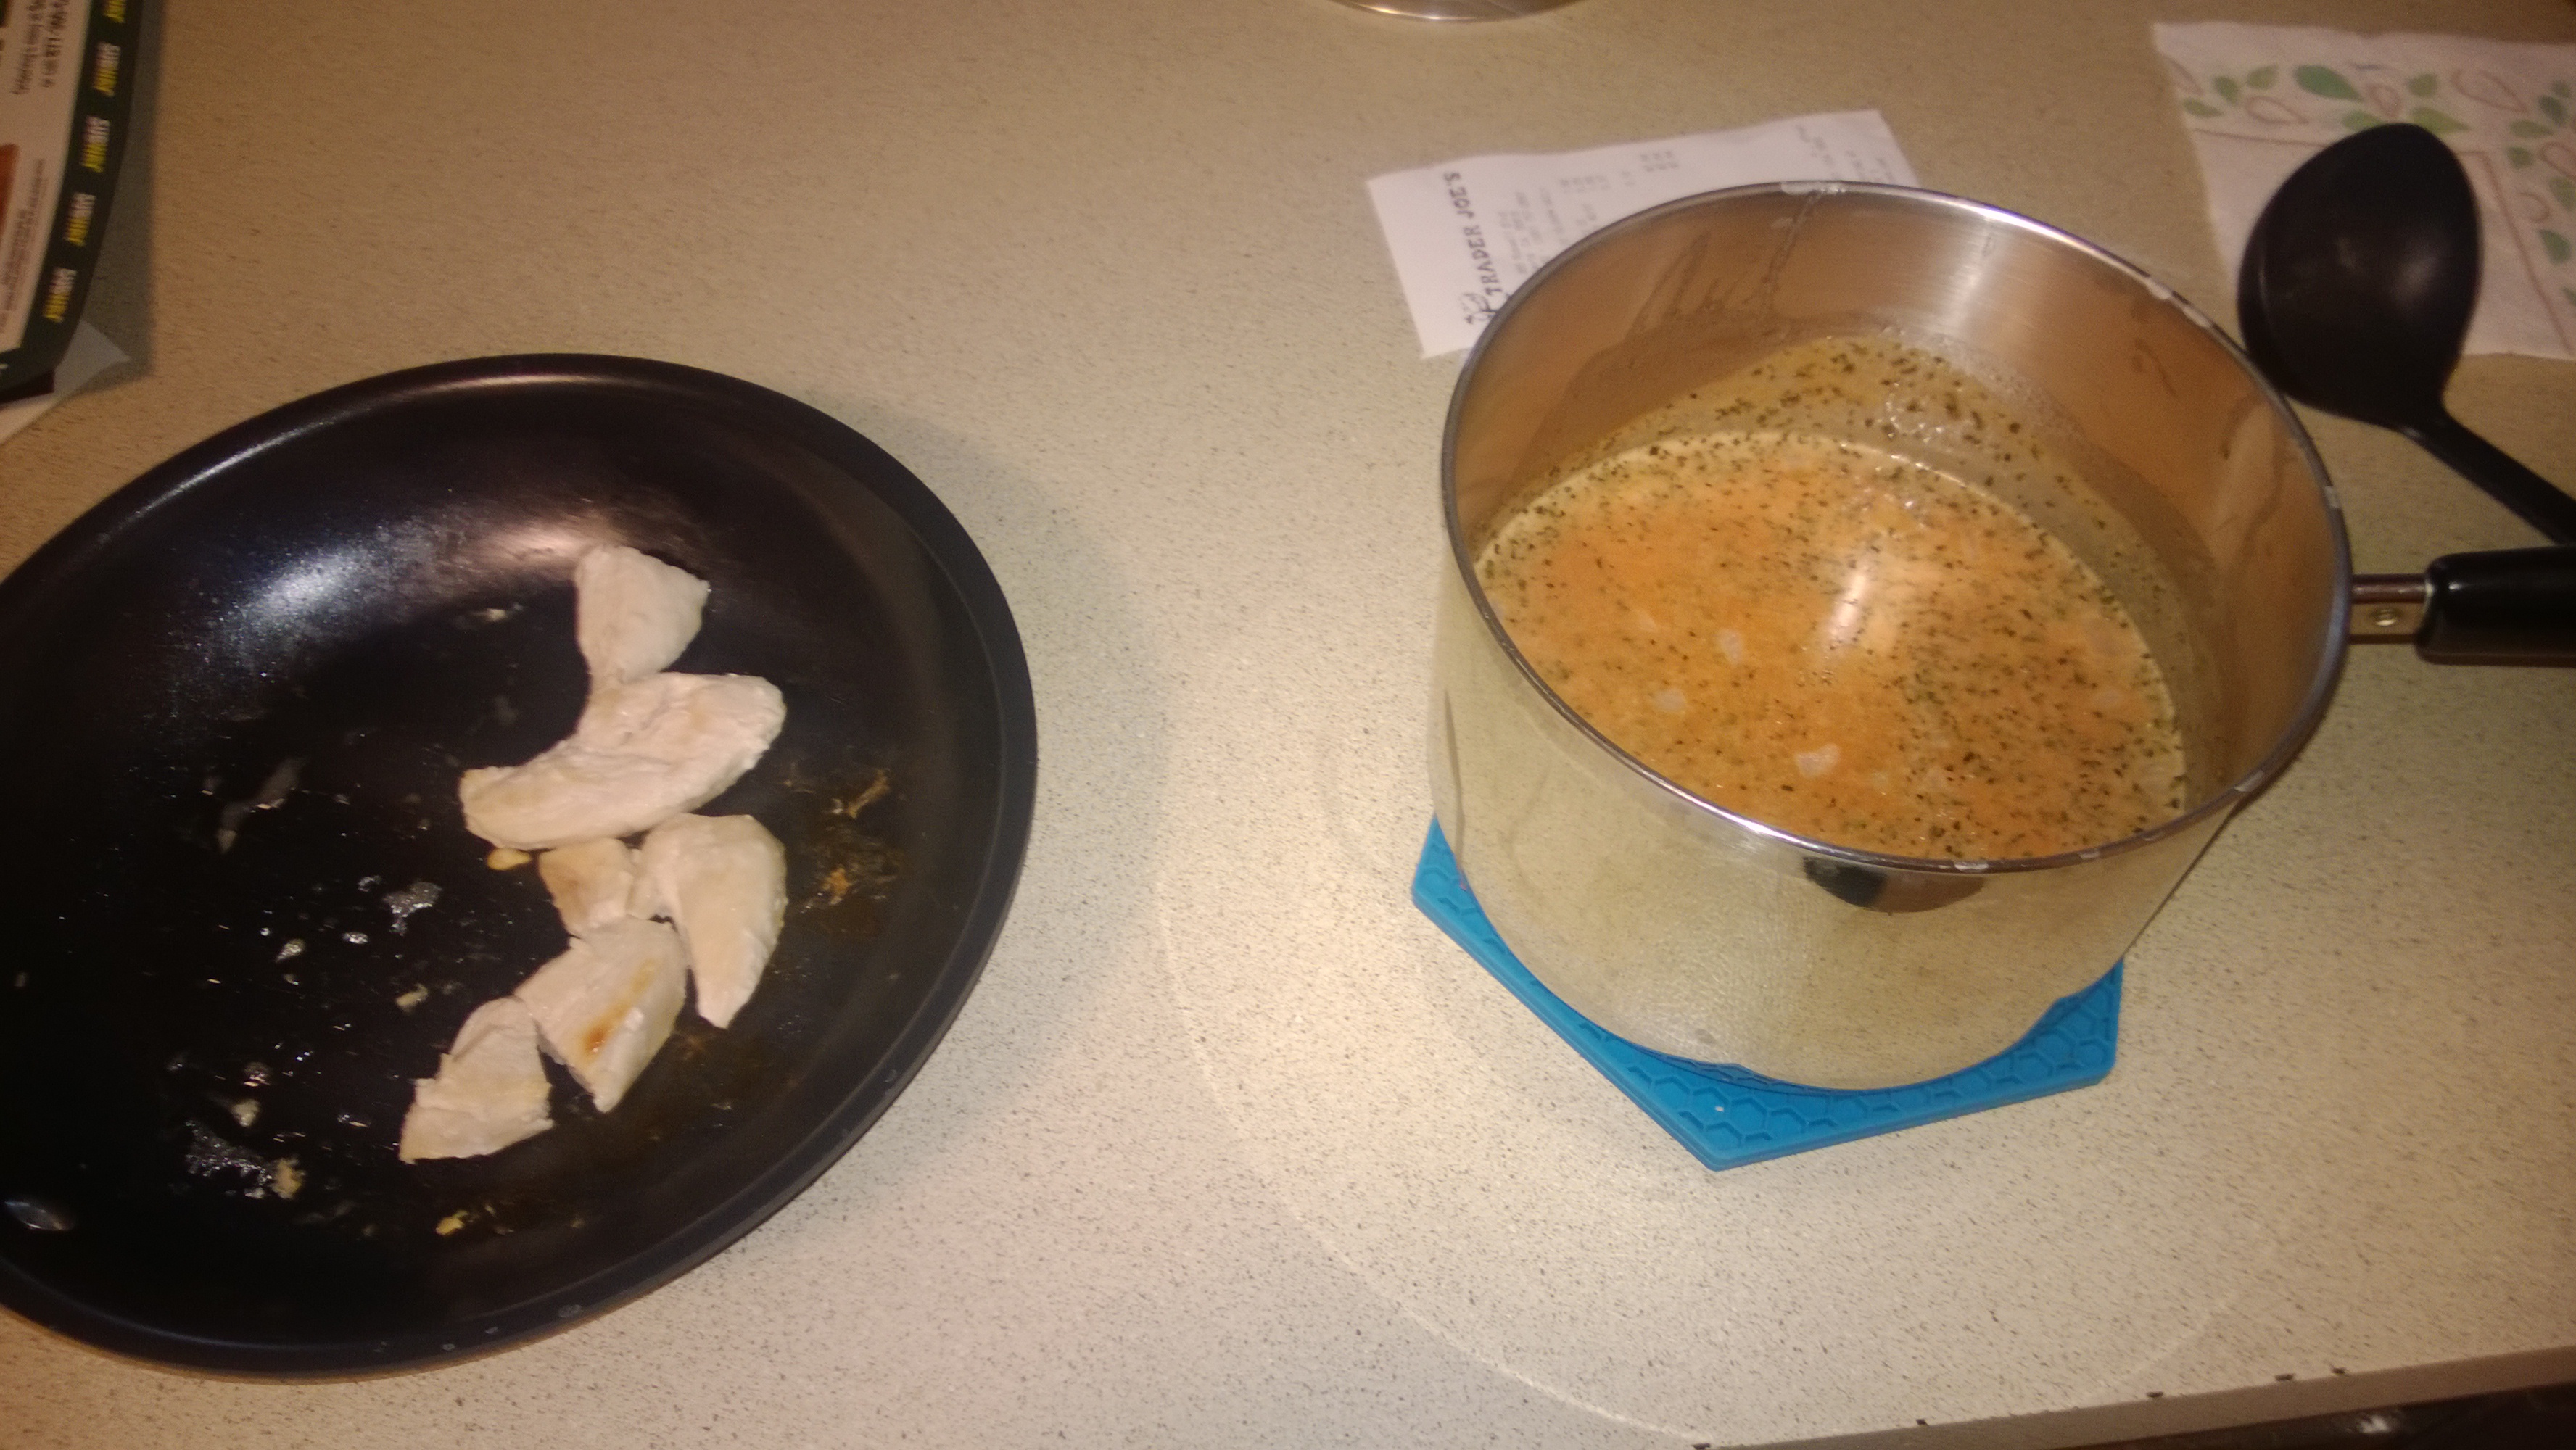
Cut chicken into smaller chunks, and cook until done. (I did not season it.)
Meanwhile, in a saucepan, cook onions in 1 TBSP of heated butter until translucent. (Do not brown them.)
When onions are about done, pour the can of soup into the pan. Instead of using water as the instructions would have you do, use the milk and half & half instead. Stir. Add a pinch of dried basil, a pinch of dried parsley, and salt to taste. Stir until heated.
Chicken and Tomato Bisque. (The amount of chicken I put into my bowl.)
Once the soup is heated and the chicken cooked, remove from heat. Get a couple of bowls ready, with a few spinach leaves and chicken in each bowl. Ladle soup into the bowl, on top of the spinach. (There should be about two bowl-fulls of soup.) Sprinkle some cheese on top, and enjoy!